With this blog you will be able to learn building a simple web application through Ruby on Rails (or simply called Rails). Furthermore, we will look into the steps required for Deploying Rails app on Heroku — AWS Ubuntu.
We will be using AWS Ubuntu 16.04 as our platform. Before starting the application creation, follow the below links in order to:
Workflow:
Create an app (on Rails) --> Run locally --> Version in git --> Deploy to Heroku
Rails project creation:
Go to Ubuntu terminal and,
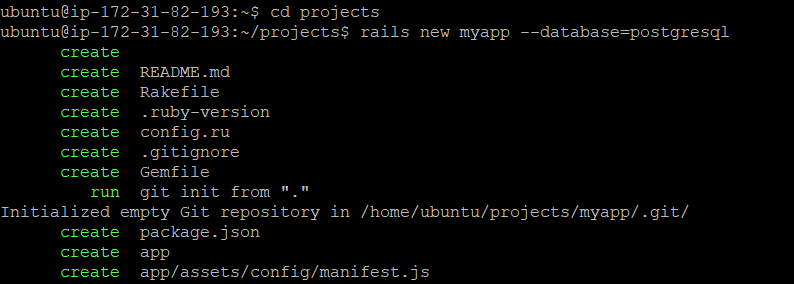
Step 1. Create a folder to keep all your rails project into.
ubuntu@ip-xxx-xx-xx-xxx:~$ mkdir projects
Step 2. Create a new app project “myapp” and specify the database as ‘postgresql’
ubuntu@ip-xxx-xx-xx-xxx:~$ rails new myapp --database=postgresql
Note: By default Rails uses ‘Sqlite3’ database, which is not supported by Heroku. In case if you have an existing app which uses ‘Sqlite’ then click this link to resolve the deployment issue.
- It will automatically run
bundle install
- Also pg latest and compatible version will be fetched and installed.
Step 3. Browse to your app folder and create a welcome page.
ubuntu@ip-xxx-xx-xx-xxx:~$ rails generate controller welcome
Step 4. Create an “index.html.erb” page inside app/views/welcome
ubuntu@ip-xxx-xx-xx-xxx:~$ cd app/views/welcome
ubuntu@ip-xxx-xx-xx-xxx:~$ touch index.html.erb
Step 5. Edit index file
ubuntu@ip-xxx-xx-xx-xxx:~$ vi index.html.erb
Add any welcome post you want to display. Below is the sample:
<h2>Hello World</h2>
<p>
  The time is now: <%= Time.now %>
</p>
Step 6. Edit routes.rb under config folder
ubuntu@ip-xxx-xx-xx-xxx:~$ cd config/
ubuntu@ip-xxx-xx-xx-xxx:~$ vi routes.rb
Add on line no.2
root 'welcome#index'Step 7. Verify the page by running server
ubuntu@ip-xxx-xx-xx-xxx:~$ cd projects/myapp
ubuntu@ip-xxx-xx-xx-xxx:~$ rails server
Deploy Rails on Heroku
Step 1. Download and install Heroku CLI
The Heroku Command Line Interface (CLI) makes it easy to create and manage your Heroku apps directly from the terminal. It’s an essential part of using Heroku.
For Ubuntu 16+
ubuntu@ip-xxx-xx-xx-xxx:~projects/myapp$ sudo snap install --classic heroku
Step 2. Use heroku login
And provide the credentials set when signed up for Heroku.

Step 3. Initialize git :
ubuntu@ip-xxx-xx-xx-xxx:~projects/myapp$ git init
ubuntu@ip-xxx-xx-xx-xxx:~projects/myapp$ git add .
ubuntu@ip-xxx-xx-xx-xxx:~projects/myapp$ git commit -m"first commit"
Step 4. Create app in Heroku
ubuntu@ip-xxx-xx-xx-xxx:~projects/myapp$ heroku create

Step 5. Push the app to Heroku
ubuntu@ip-xxx-xx-xx-xxx:~projects/myapp$ git remote -v
ubuntu@ip-xxx-xx-xx-xxx:~projects/myapp$ git push heroku master
Your code has been successfully deployed to Heroku
Step 6. To visit your application
- run a dyno of web process type
ubuntu@ip-xxx-xx-xx-xxx:~projects/myapp$ heroku ps:scale web=1
- visit the app in browser
ubuntu@ip-xxx-xx-xx-xxx:~projects/myapp$ heroku open
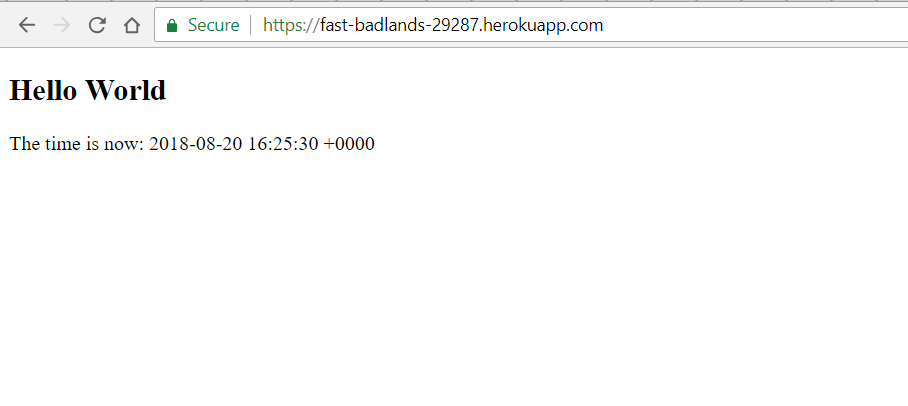
- Note: “Heroku create” command generates a random name to your app (e.g. in this case : fast-badlands-29287). However, one can change this name with the command:
ubuntu@ip-xxx-xx-xx-xxx:~projects/myapp$ heroku rename <name>
Congratulations !! We have deployed our ruby on rails application to Heroku.
Soon we will integrate it with CI server Jenkins.
Furthermore, if you want to learn to deploy Java application on Heroku, click here.